Making preserves made at home
- Aug 01, 2018
- 0 Comment(s)
With so many fruits available during the summer months, it is wise to turn your thoughts towards the winter season. It won’t be long before the sunny days disappear and all of this lovely lush fresh fruit will be gone. We will be back to buying imported varieties that are not nearly so fresh or as tasty as the fruits grown at home.
If you have never made preserves at home before i.e. marmalade, jellies and jams, then now is the time to make a plan; think about putting a few jars aside and into the larder for those dark dull days when you yearn for the taste of summer.
Start once fruit is plentiful
Once we get into June, most fruits should be plentiful. But don’t just focus on the well-used strawberries and raspberries. How about rhubarb paired with orange or stem ginger? You can also add elderflower to gooseberries, remembering to put the flowers into a muslin big first. Throughout the summer there will be a literal glut of soft fruits to choose from to make your very own classic preserves.
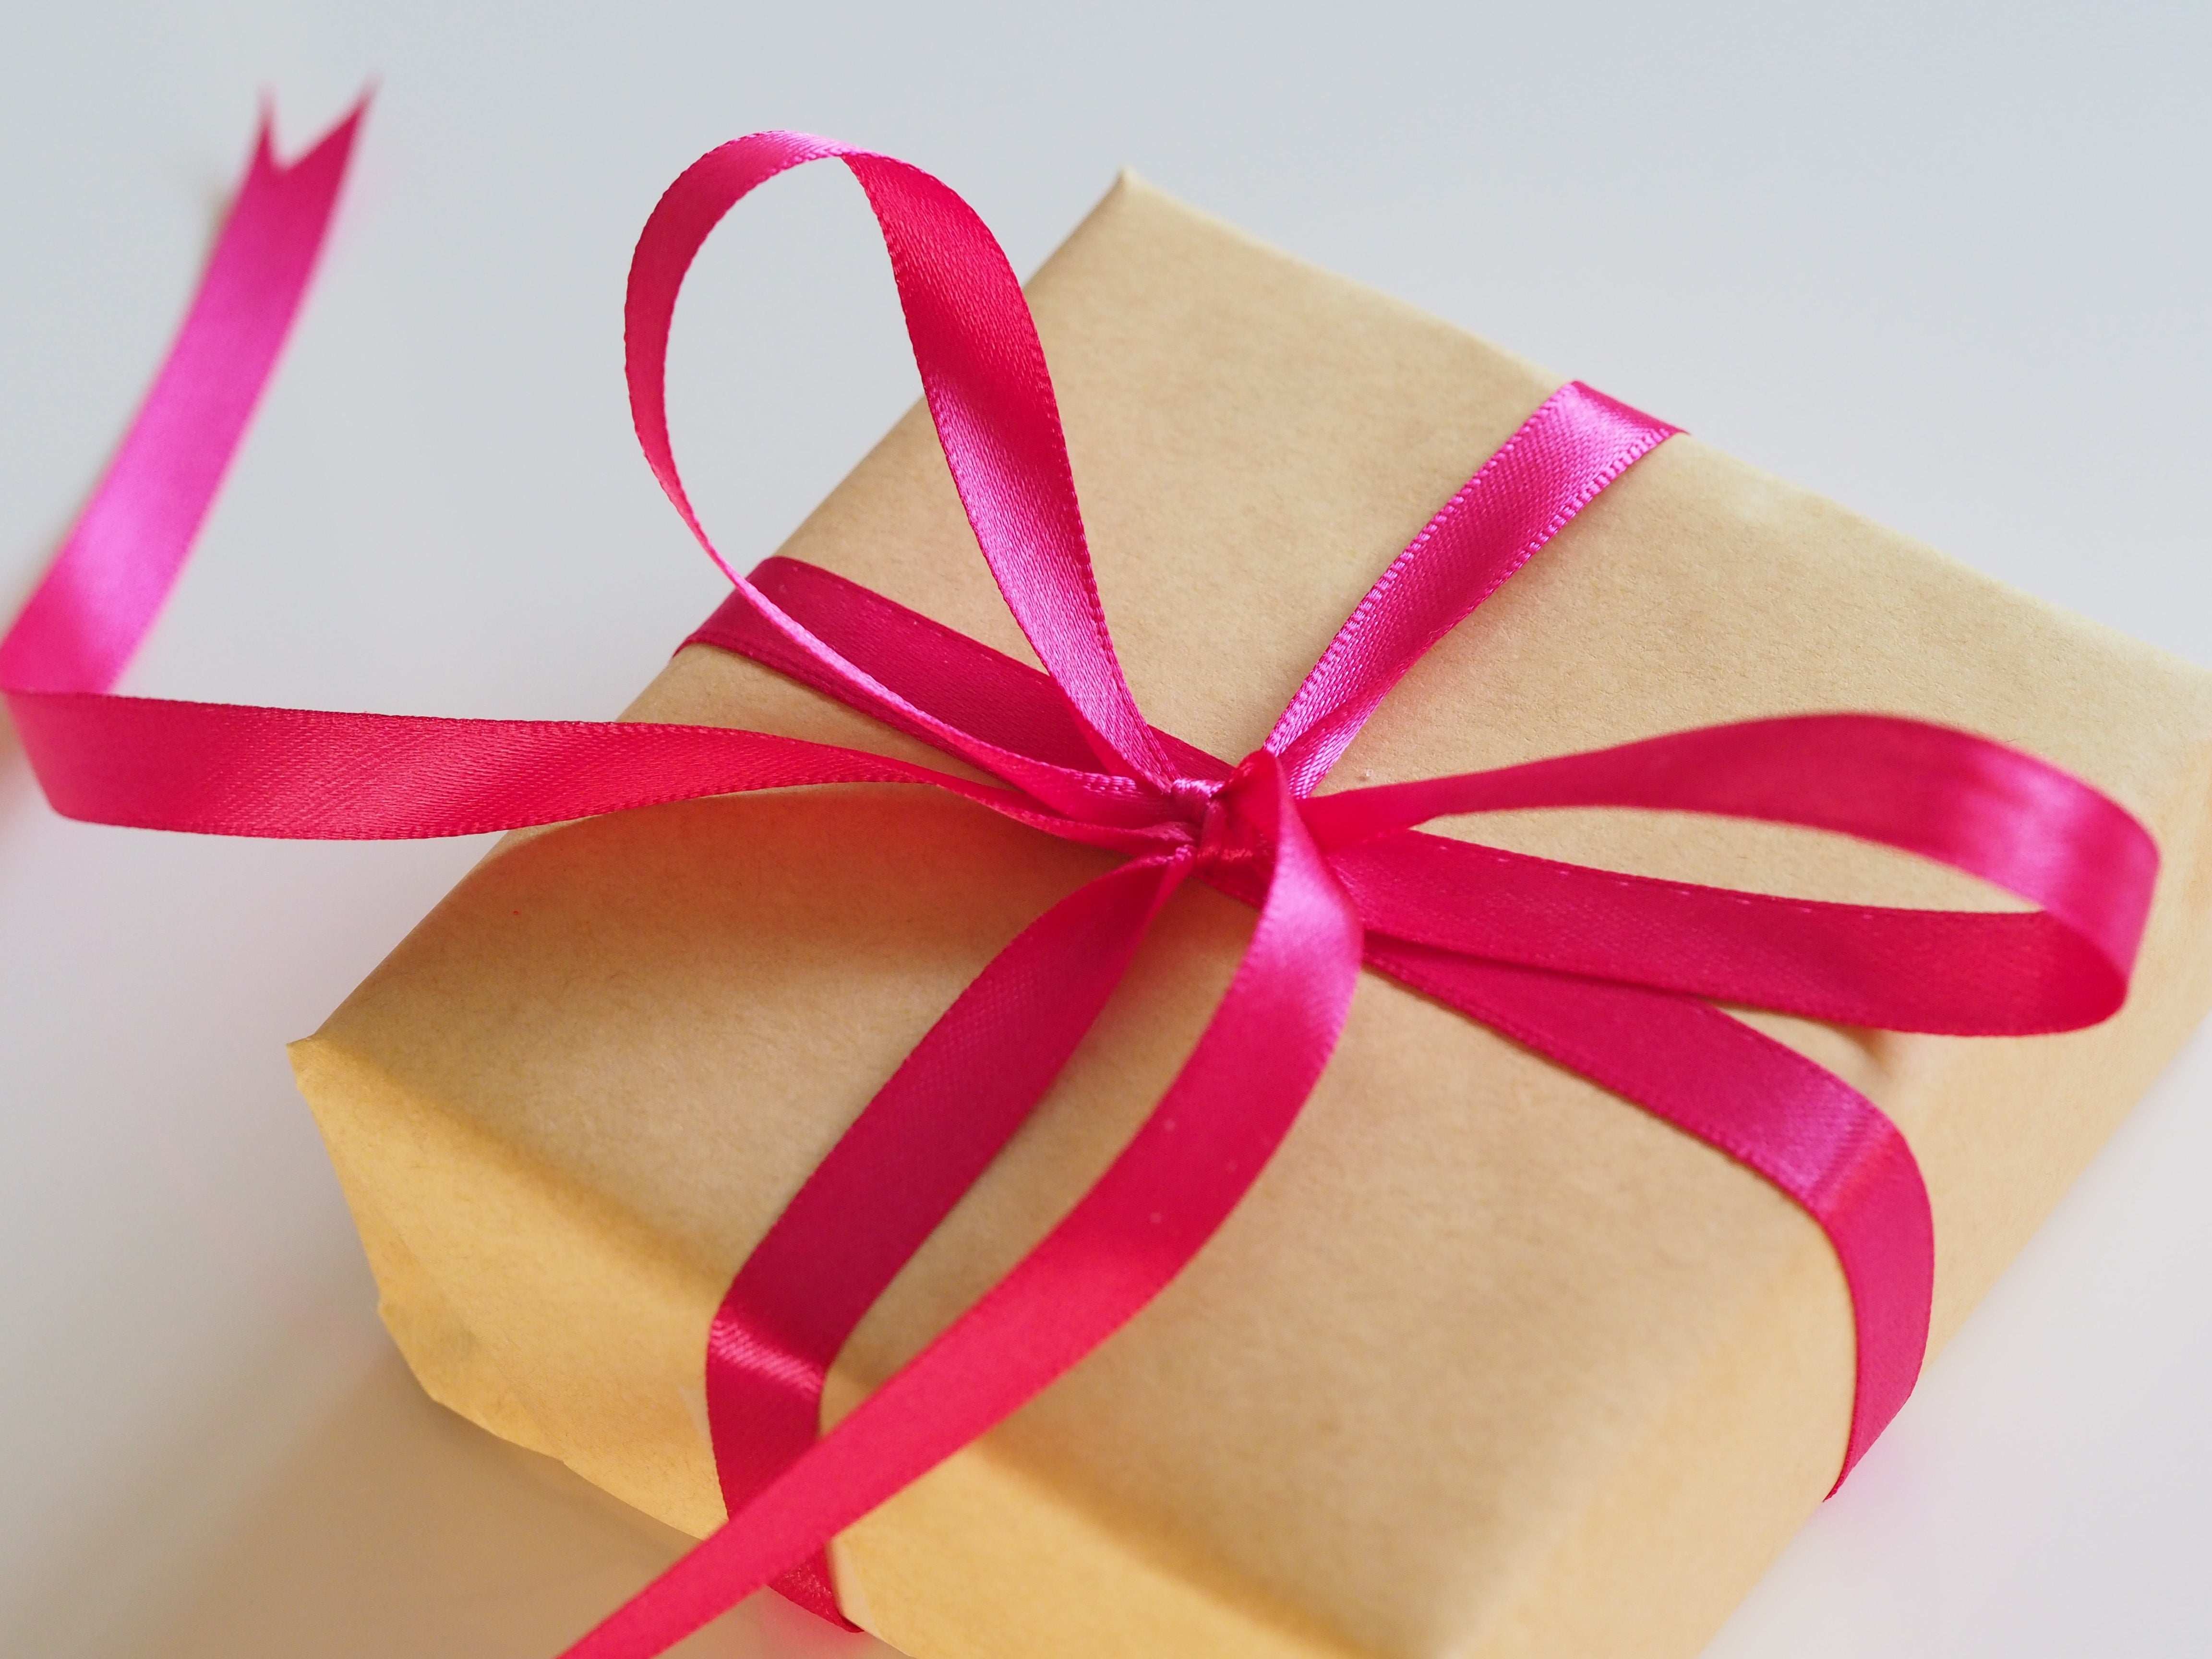
And they don’t all have to be for you. Give some to friends and family, sharing your wares. You can also use for gifts, tied up in pretty jars or sell at local markets. You can even get onto the wild side, going looking for wild crab apples and rowan berries; these make a great chutney for roast meat, served hot or cold. Bramley apple jelly can have herbs added to bring out the full flavour and towards the latter part of the year, citrus fruits come into their own, even if you do have to buy Seville oranges from Spain.
Start with the basics
Before you select your fruit, you need to assemble the following:
- Heavy-based preserving pan, 10 litres minimum (only ever use half full to allow the sugar and fruit to form a ‘rolling boil’
- Heatproof bowl
- Plate
- Sieve
- Funnel
- Jug
- Wooden spoon
- Slotted spoon
- Sugar thermometer (although you can also judge setting point ‘by eye’)
- Jars with lids and labels
Always sterilise your jars by washing in hot soapy water and then leaving in a hot oven for about ten minutes (160C). If you prefer, leave the jars in a 50C oven while you are making the preserves.
Cooking your preserves
Choose good quality fruit (organic or from your own garden if possible) that is fresh and not too ripe as this will cause the natural pectin to reduce. (Pectin helps the jam to set). You don’t have to stick with white sugar either. Maybe try golden granulated as it is less sickly sweet and adds a lovely hint of molasses.
Following your chosen recipe and having washed and prepared your fruit, stir it with the sugar on a low flame until the grittiness of the sugar has disappeared. Now you can turn up the heat, aiming for a nice ‘rolling boil’. Don’t walk away and leave your jam. You need to check for setting point often. Some people use a sugar thermometer but you can also drop a dab of jam onto a cold plate – push it lightly with your finger and if it seems set with a skin forming on the top, you should be good to go. You can also let it drip off your wooden spoon into the pan – if it clings slightly to the spoon, you can then try the ‘plate’ test.
When ready, remove the pan from the heat. Skim off any scum with a slotted spoon and transfer your jam into jars using the jug. Put lids on jars whilst hot and when cool, add labels and ribbons or pretty string.
Find plenty of room in your larder, make different jams as the summer progresses and you will enter winter with a bountiful supply of nature’s goodies.


